Installation of Kernaro Assist
Overview
This guide outlines the steps required to perform a fresh installation of the Kernaro Assist Add-in for Sparx Systems Enterprise Architect.
Prerequisites
Before installing Kernaro AI for EA , ensure that the following prerequisites are met:
| Requirement | Verification Method |
|---|---|
| Windows 10 or Windows 11 (64-bit) | Settings → System → About |
| Enterprise Architect (64-bit) | Enterprise Architect → Help → About (must indicate 64-bit) |
| Enterprise Architect Closed | Ensure all EA instances are closed before installation |
| An AI account | You need an account with at least one AI provider: OpenAI, Anthropic (Claude), or Azure OpenAI. You will need to generate an API key from your provider account and configure it within Kernaro AI. |
| Internet connection | Needed for the AI to process your requests |
| ~500 MB disk space | For the installation |
Note: The installer automatically validates these prerequisites while installing. Ensure that Microsoft WebView2 Runtime is installed on the system.
Installation Process
Steps for Fresh Installation:
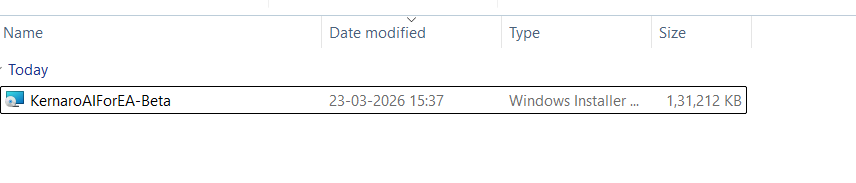
Launch the Installer
Open Kernaro Assist-Beta.exe, as shown in the image below.
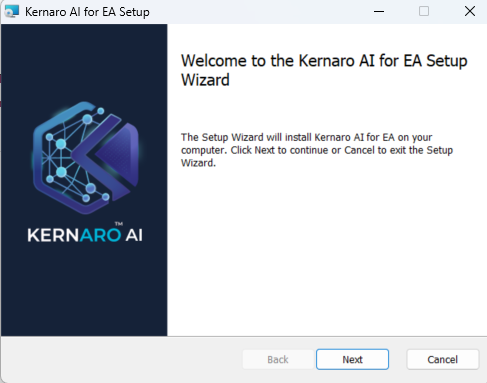
Welcome Screen
A welcome screen will appear, displaying the product logo and a Next button.
Click Next to continue.
License Agreement:
Review the license agreement.
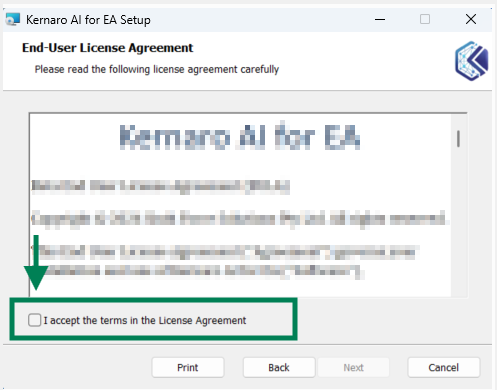
Select the “I Agree” checkbox to enable the “Next” button.
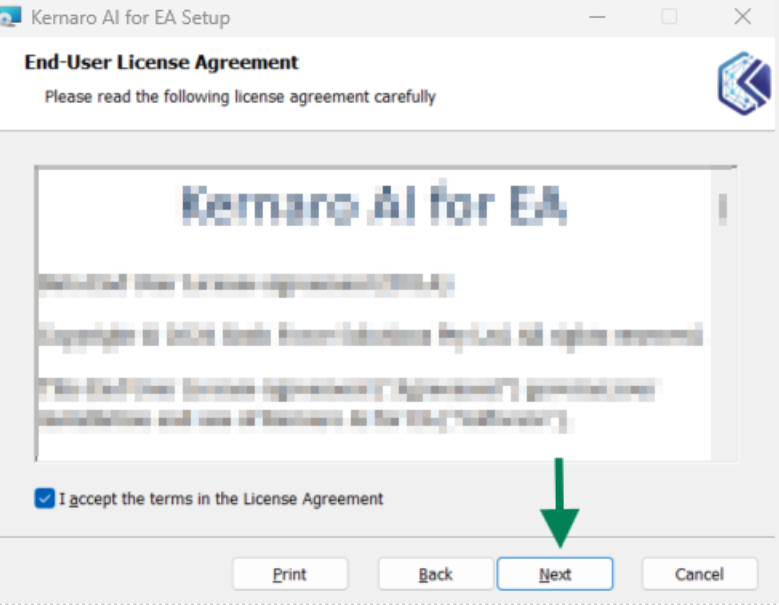
Click Next to proceed.
Destination Folder:
- Choose an installation path
Default path:
C:\Program Files\Sparx Systems\Kernaro Assist.
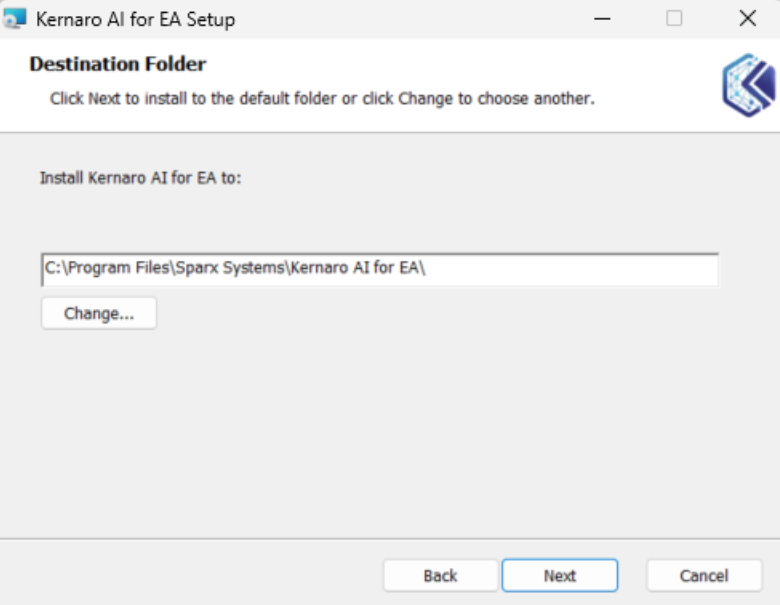
- Click the Change button to select a different folder if needed.
- Click Next to proceed.
Server Configuration
Provide the required server configuration details.
- Host
- Port
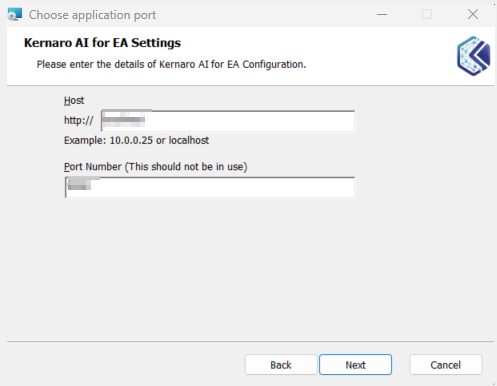
After entering the values, click Next to validate the host and port information.
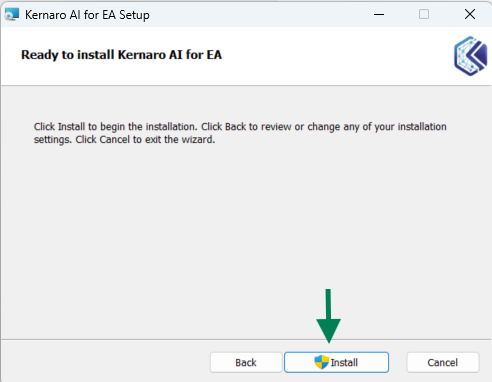
Start Installation
Click the Install button to begin the installation process.
Installation Progress:
A progress bar will appear indicating the status of the installation.
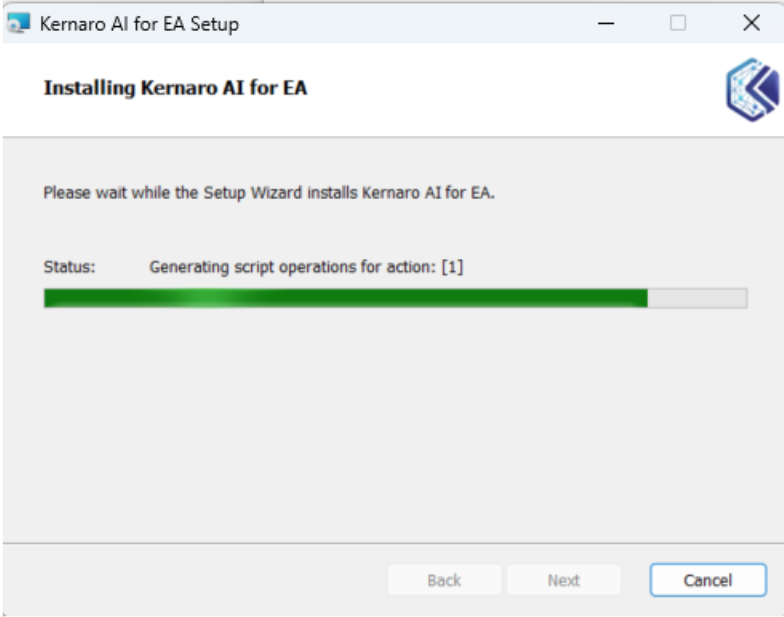
Please wait until the installation process completes.
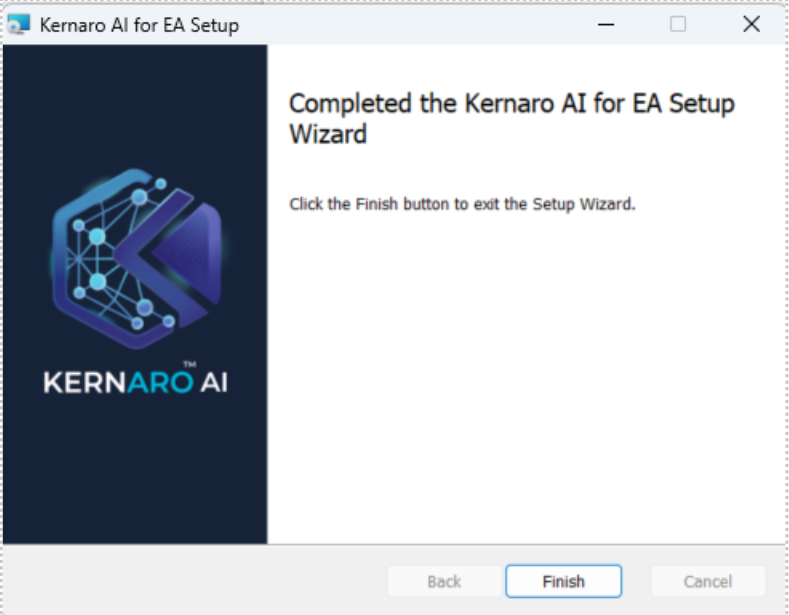
Completion
- Once the installation is completed successfully, the completion screen will appear.
- Click Finish to exit the installer.